

How to Make AI Movie Scenes
Updated 2026-10-07
An AI movie scene feels cinematic when it follows the same rules real filmmakers use: a clear shot type, deliberate staging, characters who look the same from shot to shot, and cuts that make sense. Without those rules, even beautiful images feel like a random slideshow.
This guide covers how to prompt for film-style shots, how to keep characters and eyelines consistent, and how to connect scenes so they play like one continuous sequence.
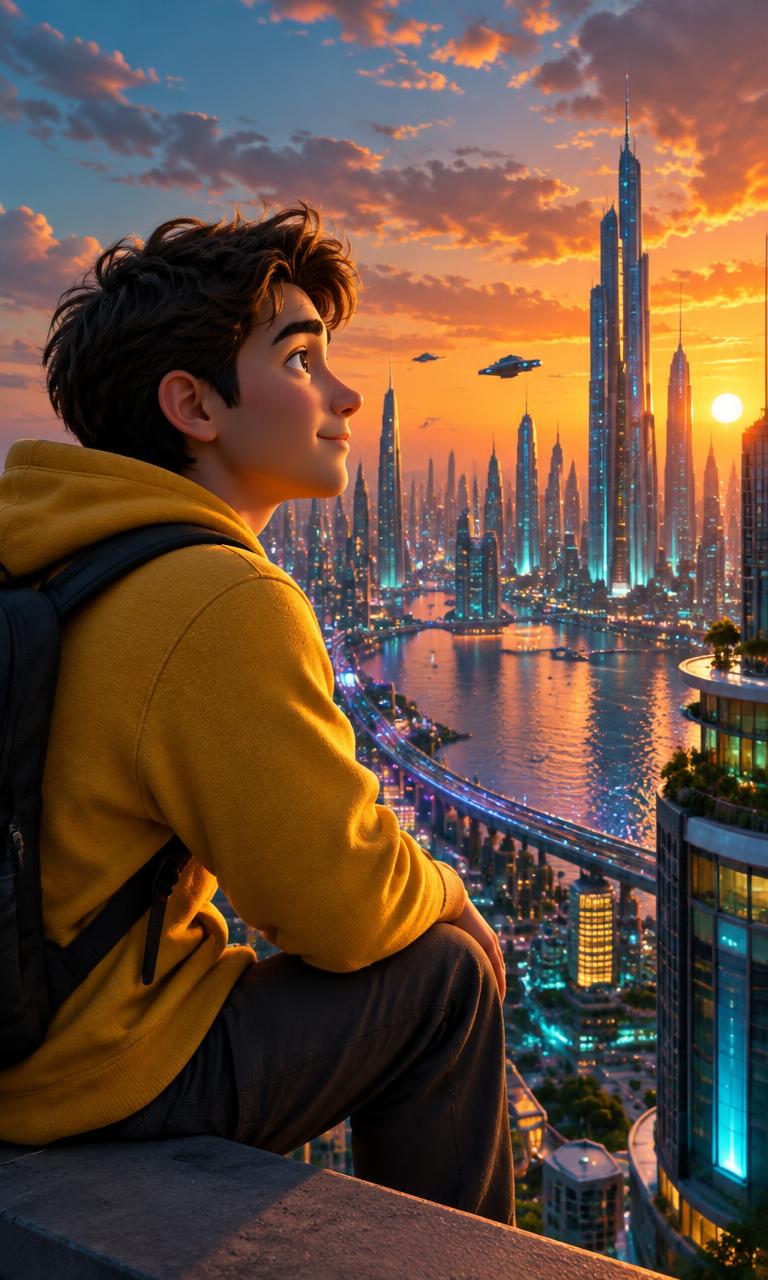
Building a cinematic scene, step by step
1. Choose the shot type first
Decide what the camera sees before describing anything else. A wide shot shows the location and where everyone stands. A medium shot frames a character from the waist up and suits conversation. A close-up shows a face and carries emotion. Name the shot explicitly at the start of the prompt so the model frames it correctly.
2. Describe the starting frame, not the whole scene
An image prompt should describe a single moment: who is in frame, where they stand, what they are doing right now, the lighting and the environment. Leave later actions and dialogue out of the image prompt; those belong in the video prompt that animates the frame.
3. Lock character appearance
Use the same characters in every shot and attach their references. Repeat key visual details, such as hair, outfit and signature accessories, in each prompt so nothing drifts between a wide shot and a close-up.
4. Write the motion as short timed beats
For the video prompt, describe what happens in order: a starting state, two or three short beats across the clip, and the final frame. Describe camera movement separately from character movement so the model does not confuse a slow push-in with the character walking forward.
5. Connect or cut to the next scene
Decide whether the next scene continues the same moment or cuts to a new angle. Continuous action can start from the previous clip’s last frame; a new angle starts from a fresh image.
Shot types and when to use them
Vertical 9:16 framing favors medium shots and close-ups, because a single character fills the tall frame well. When you need a wide shot, stack the composition vertically, with the subject in the lower or middle third and the environment above.
- Wide shot: opens a sequence, shows geography, works for action and vehicles.
- Medium shot: the default for dialogue between two characters.
- Over-the-shoulder: places the viewer in a conversation and reinforces who is talking to whom.
- Close-up: reactions, realizations and the emotional peak of the story.
- Low or high angle: makes a character look powerful or small; use sparingly for impact.
Keeping eyelines and positions consistent
Viewers notice when characters seem to swap sides between shots. Decide who is on the left and who is on the right at the start of a conversation and keep it that way. If Character A looks toward screen right in one shot, Character B should look toward screen left in the reverse shot, so they appear to be looking at each other.
Write the positions directly into each scene description, for example “Maya on the left, facing right toward her father.” Small, explicit directions like this prevent most continuity errors.
Continuity between scenes
When two scenes are one unbroken moment, such as a character turning around after hearing a noise, start the second clip from the last frame of the first. StarKlip offers “Continue from previous scene’s last frame” on scenes that follow a finished video, which captures that final frame and uses it as the next clip’s starting image.
Cutting to a new angle is often better than continuing. Real films cut constantly, and a cut hides small differences between clips. Use continuation for motion that must flow and cuts for everything else: a reaction close-up, a reveal, or a jump forward in time.
FAQ
What makes an AI scene look cinematic?
Deliberate framing, a named shot type, motivated lighting and consistent characters. Clear staging matters more than adding words like “epic” to a prompt.
Should image and video prompts be the same?
No. The image prompt describes only the opening frame. The video prompt describes how that frame moves over the length of the clip.
When should I continue from the last frame?
When the next scene is the same unbroken moment. For a new angle, a reaction or a time jump, generate a fresh image instead.
Which quality tier should I use?
Test a scene at a lower tier to check motion and staging, then render the final version at a higher tier. Each tier shows its credit cost before you generate.
More guides
Make your first story video
Build your scenes shot by shot in StarKlip, with consistent characters, scene images and vertical video that can continue from one clip to the next.